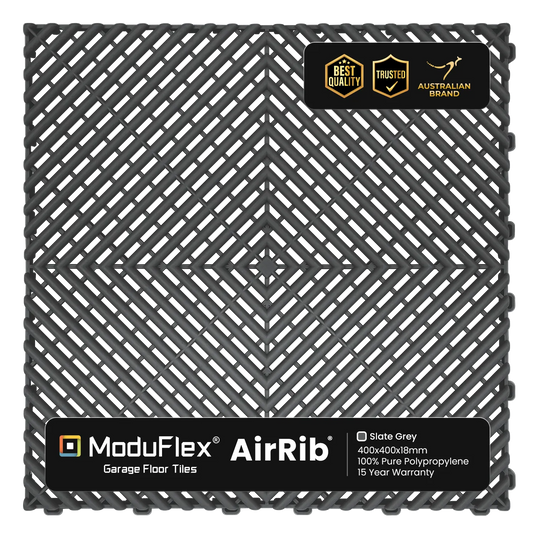
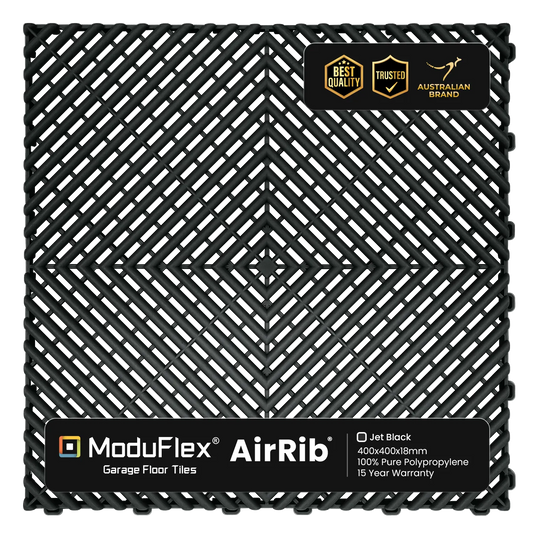
MODUFLEX
Garage Floor Tiles
INSTALLATION STEPS

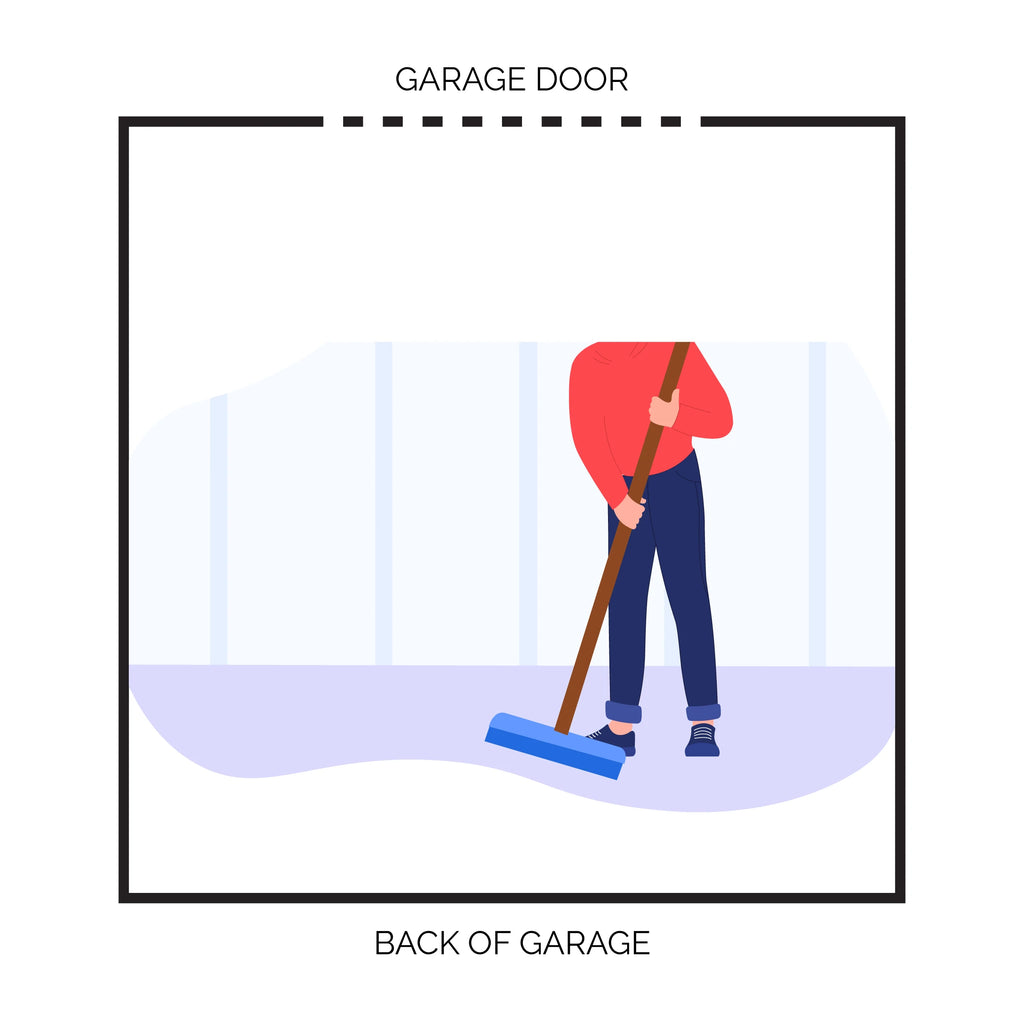
Clean the Floor:
Sweep your garage floor well to remove dust and small objects.

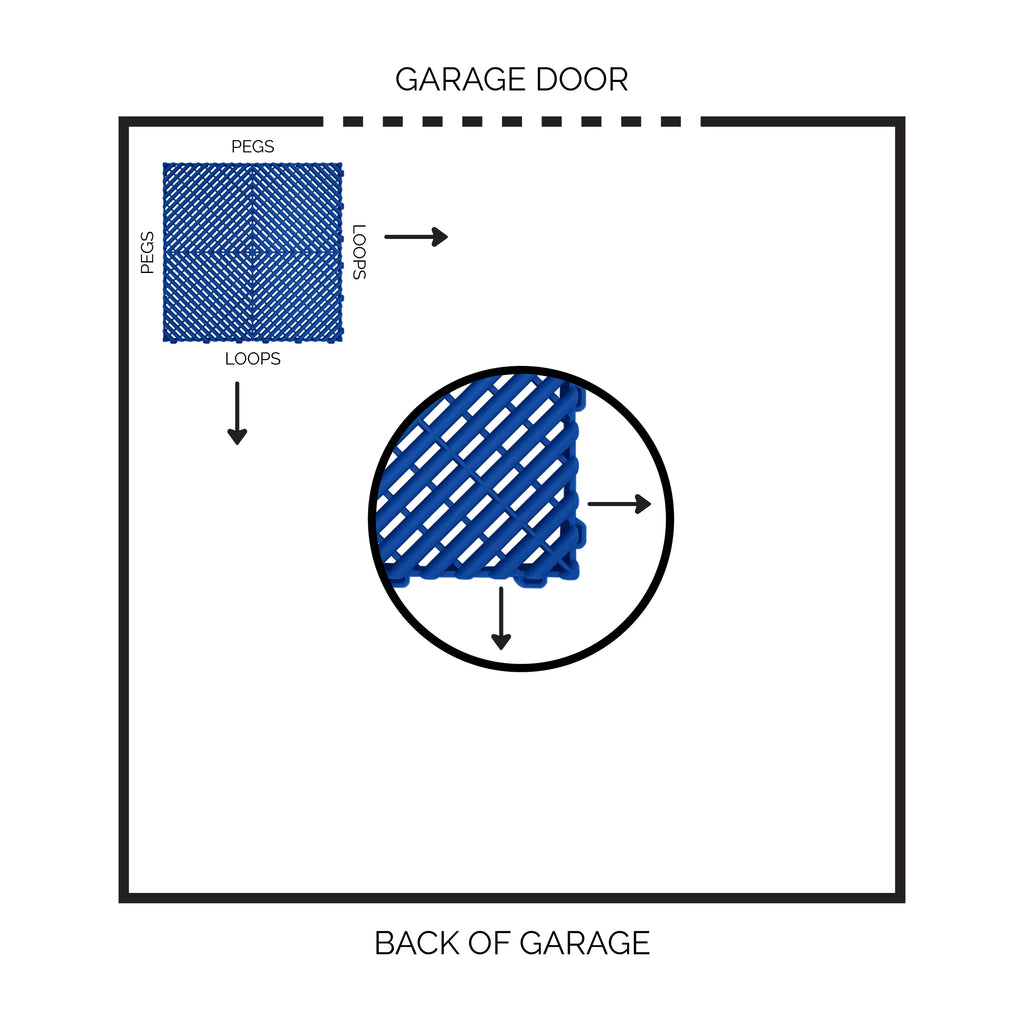
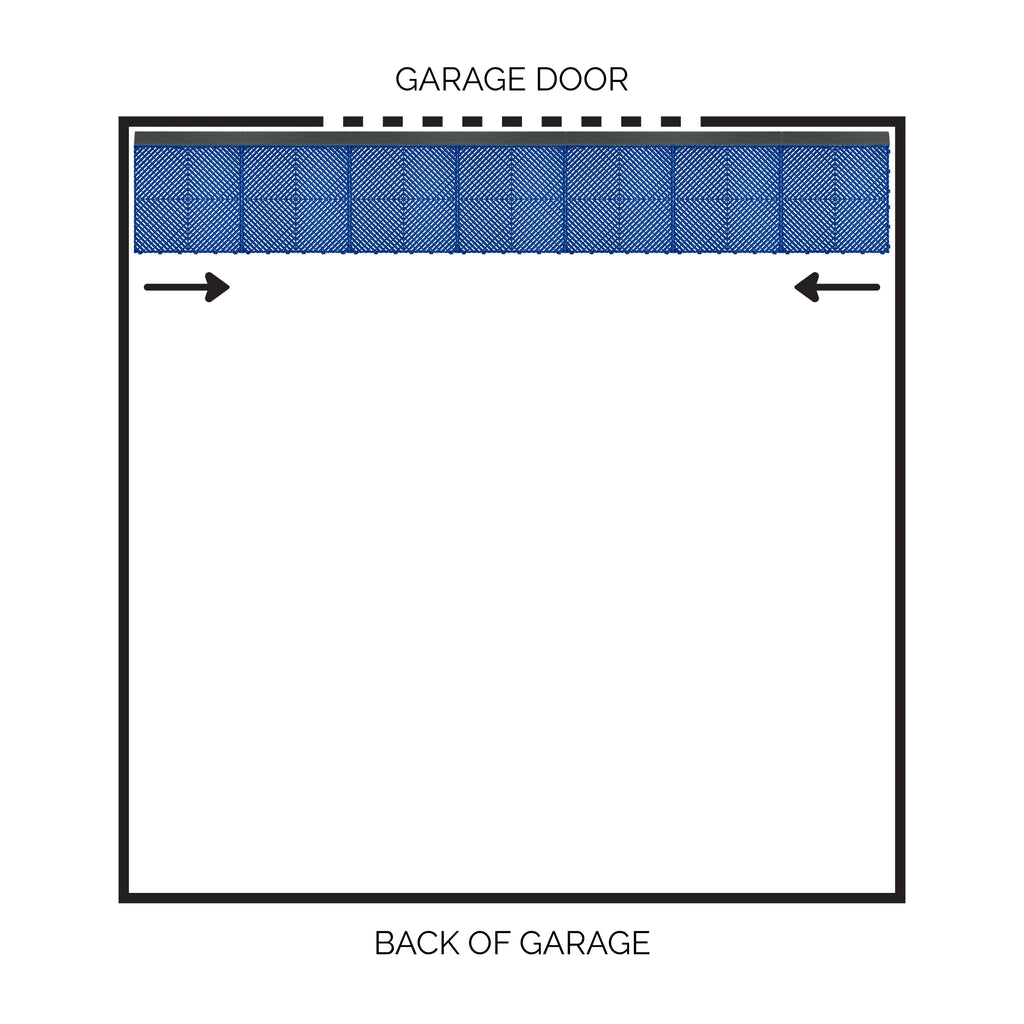
Place the First Tile:
Place the first tile at the front left wall of the garage entrance with the pegged “male” sides facing the left wall and the garage door.

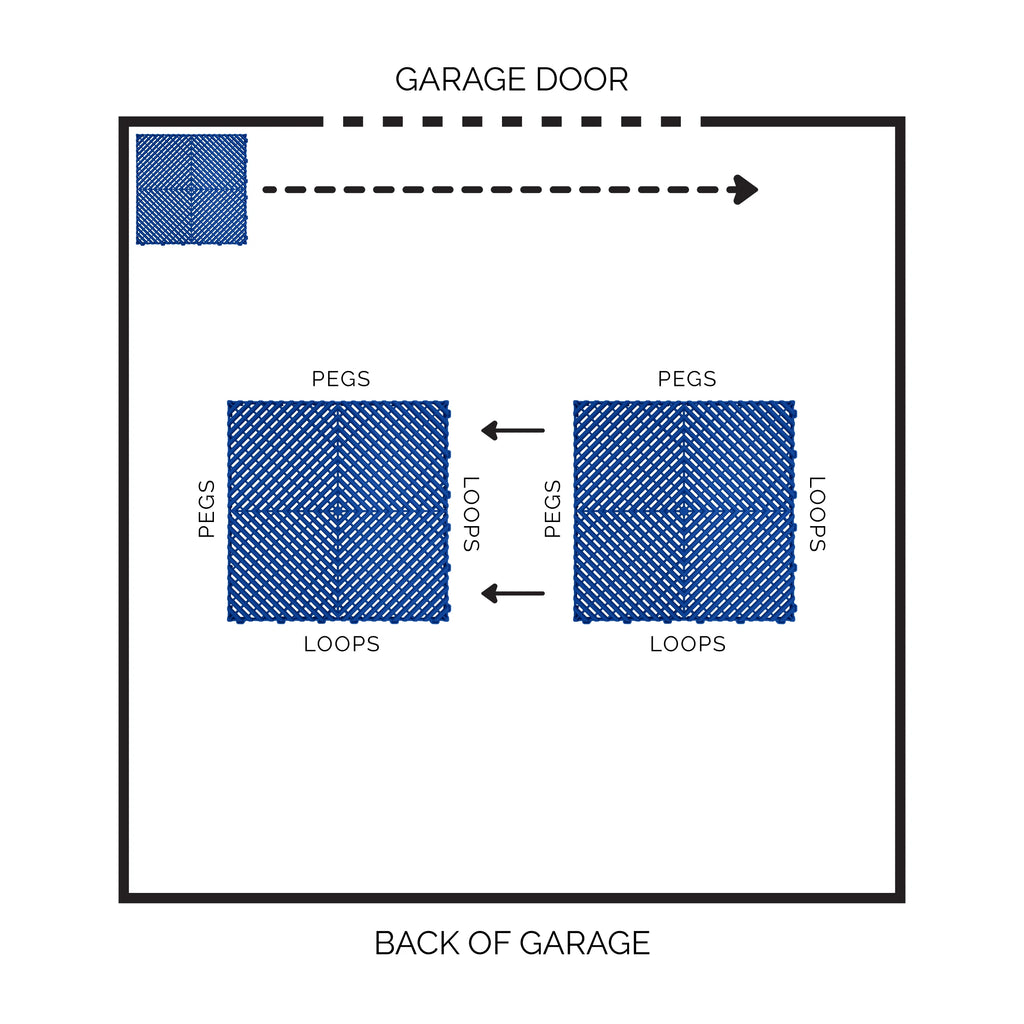
Add More Tiles:
Position the next tile the same way as the first. Connect the pegged side of the new tile with the looped side of the first tile. Press them together using your hands or a rubber mallet. Keep adding tiles like this until you cover the first row.

Attach Ramp Edges:
Connect the ramp pieces to the tiles nearest to the garage door by lifting the tiles and locking the ramps into place. Close the garage door and adjust these rows, leaving a small gap (5-10mm) for clearance.
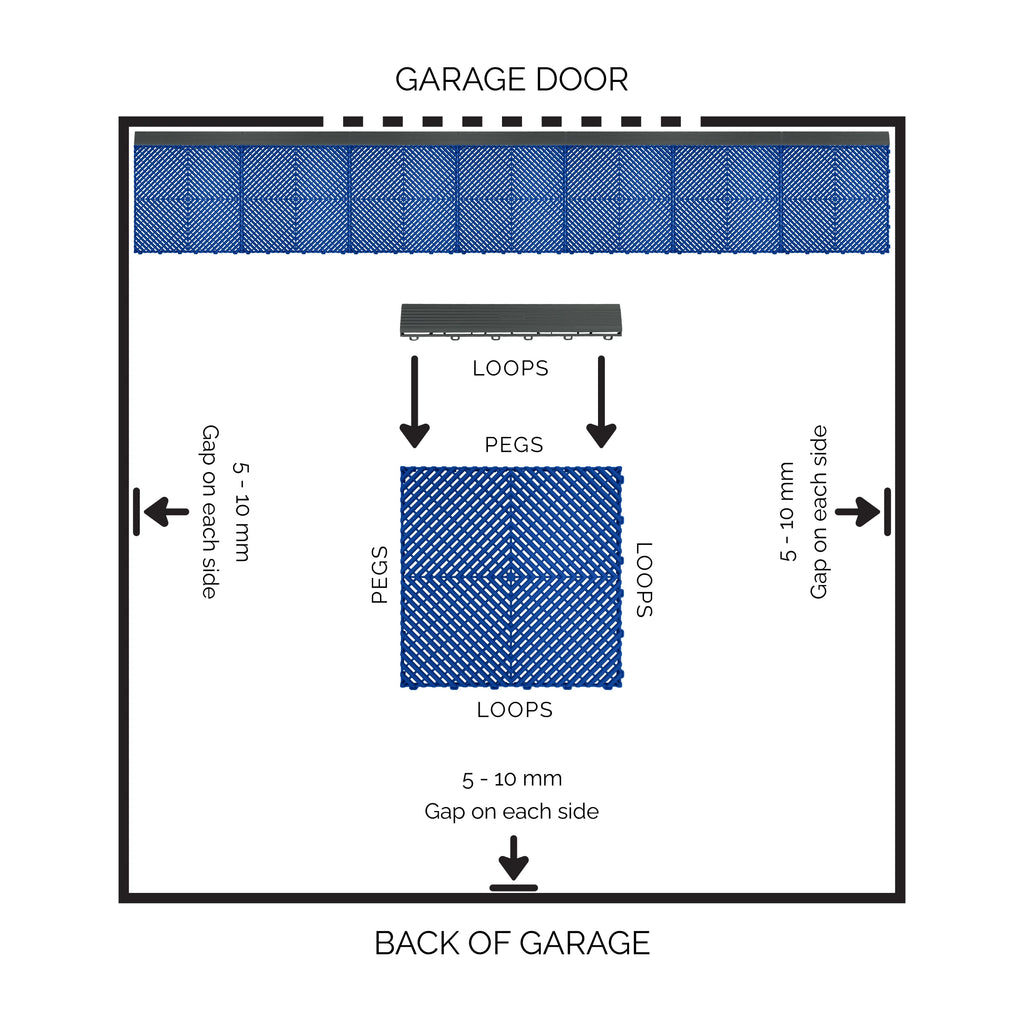

Align Tiles Evenly:
If your design has a pattern which should be centred or if you do not want to cut any tiles at the end, move the rows so that there is an equal gap between the outermost tile and the wall on each side.

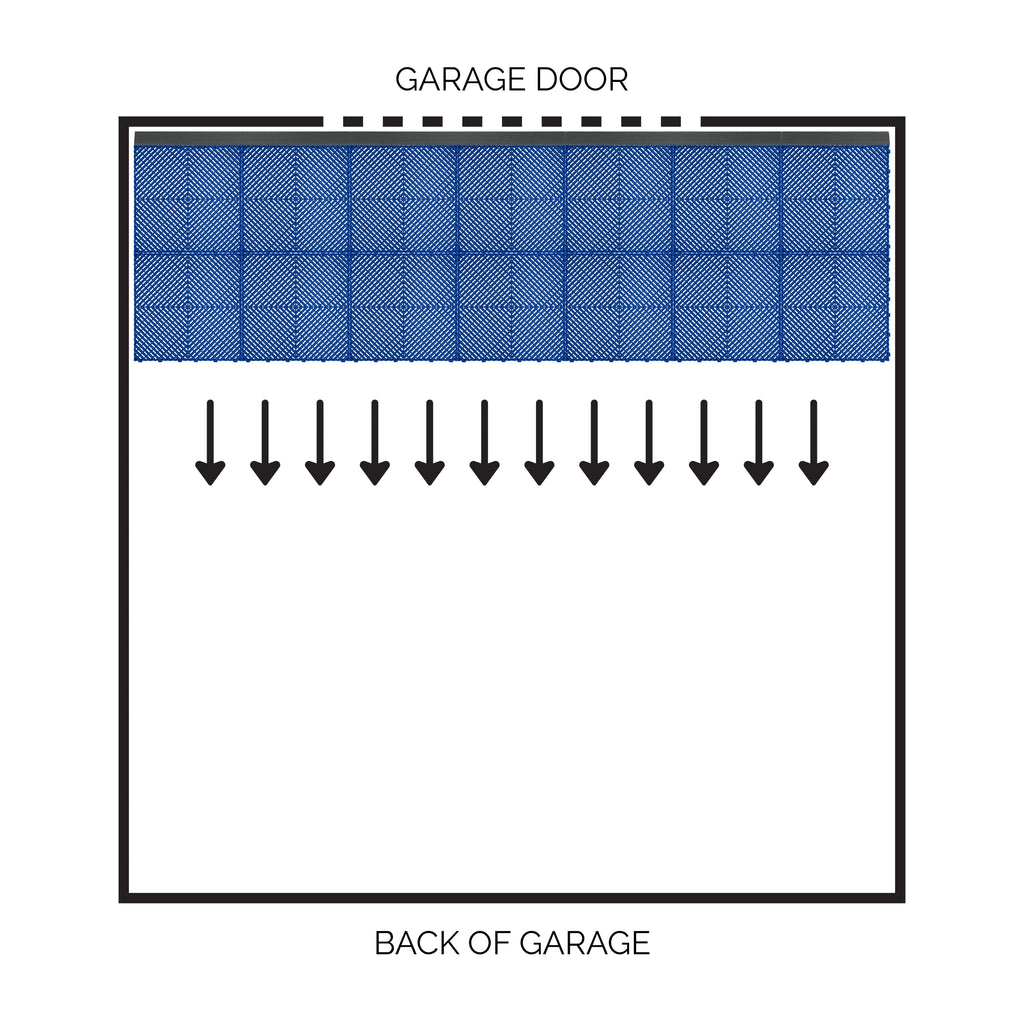
Continue Laying Tiles:
Keep laying tiles in the same direction until you reach the back and opposite walls. Stop at the last rows, as you might need to cut them for a perfect fit.

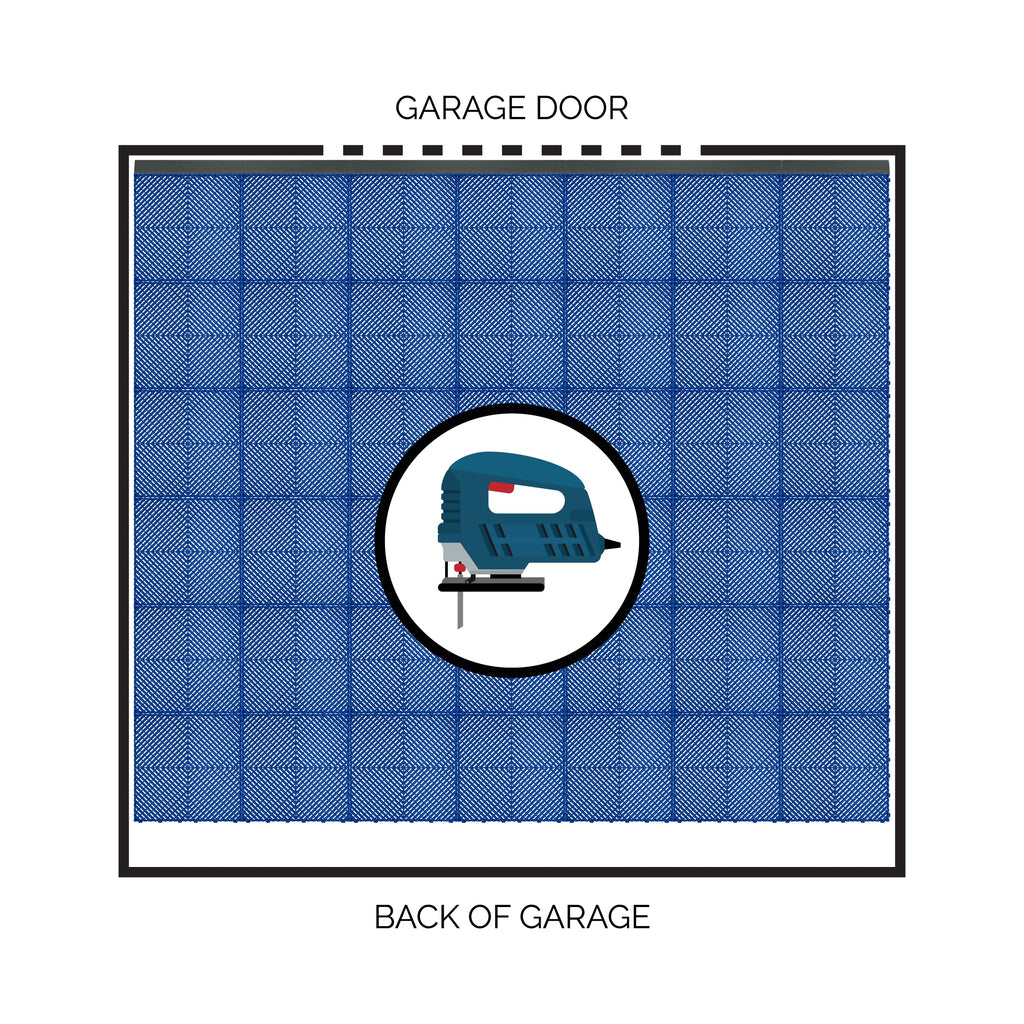
Optional
Cut and FitRemaining Tiles:
For a perfect fit, cut the tiles to size for the remaining areas using a jigsaw equipped with a fine-toothed blade. Ensure a 5-10mm expansion gap is maintained between the wall and the tile when cutting. Measure and mark the tiles before cutting, and then securely lock them into place.

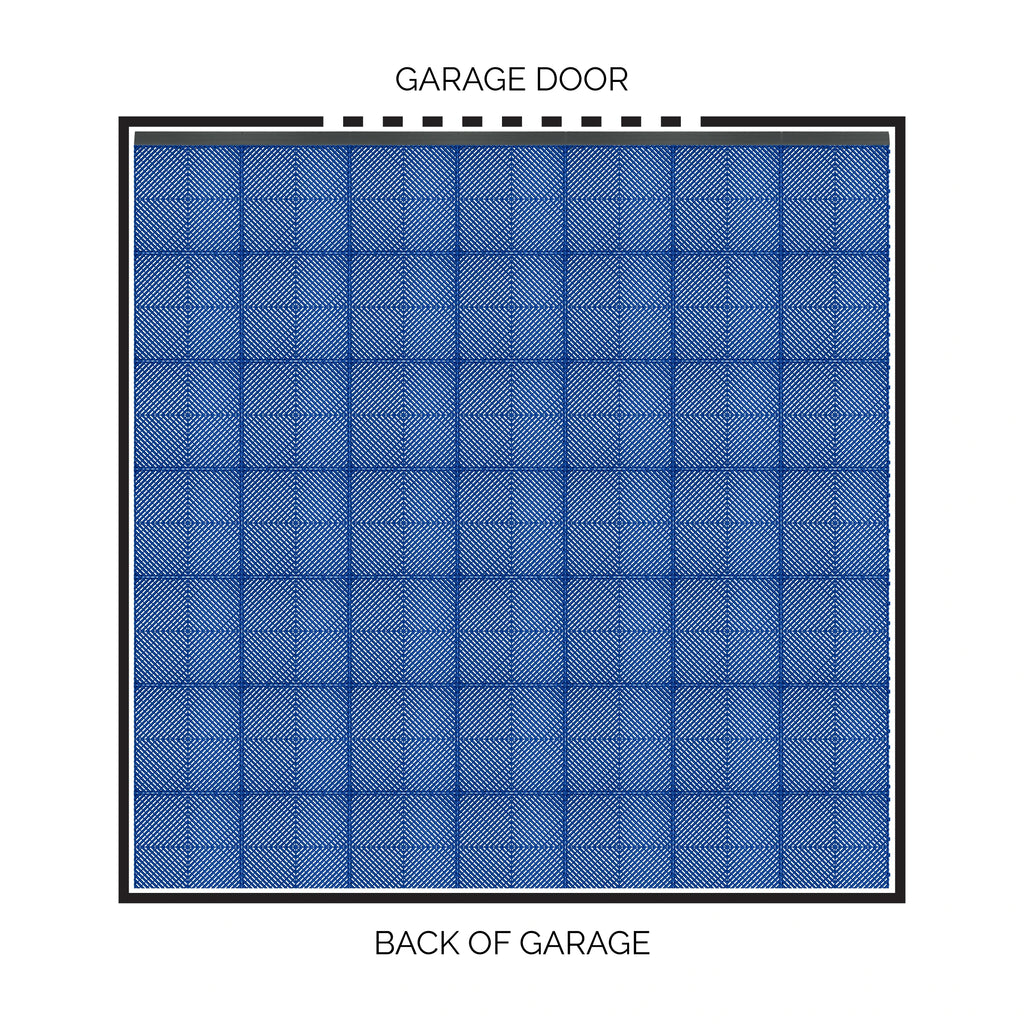
Enjoy Your Floor:
Once all tiles are laid, give your floor a quick clean to remove any installation dust. Now your floor is ready to use!
- Choosing a selection results in a full page refresh.

